Chat Web Interface – User Guide
This page explains how to use the TUD:AI Chat Web Interface at https://chat.llm.scads.ai, powered by Open WebUI: how to log in, start chats, use models and tools (code, documents, web search, images, audio), and manage your data.
Access and Login
- Open the TUD:AI Chat Web Interface in your browser (Firefox or Chromium recommended).
- Log in with your TU Dresden ZIH-credentials (single sign-on).
- Group and permission assignment is done automatically based on your TU Dresden organizational unit; available models and tools may differ between users.
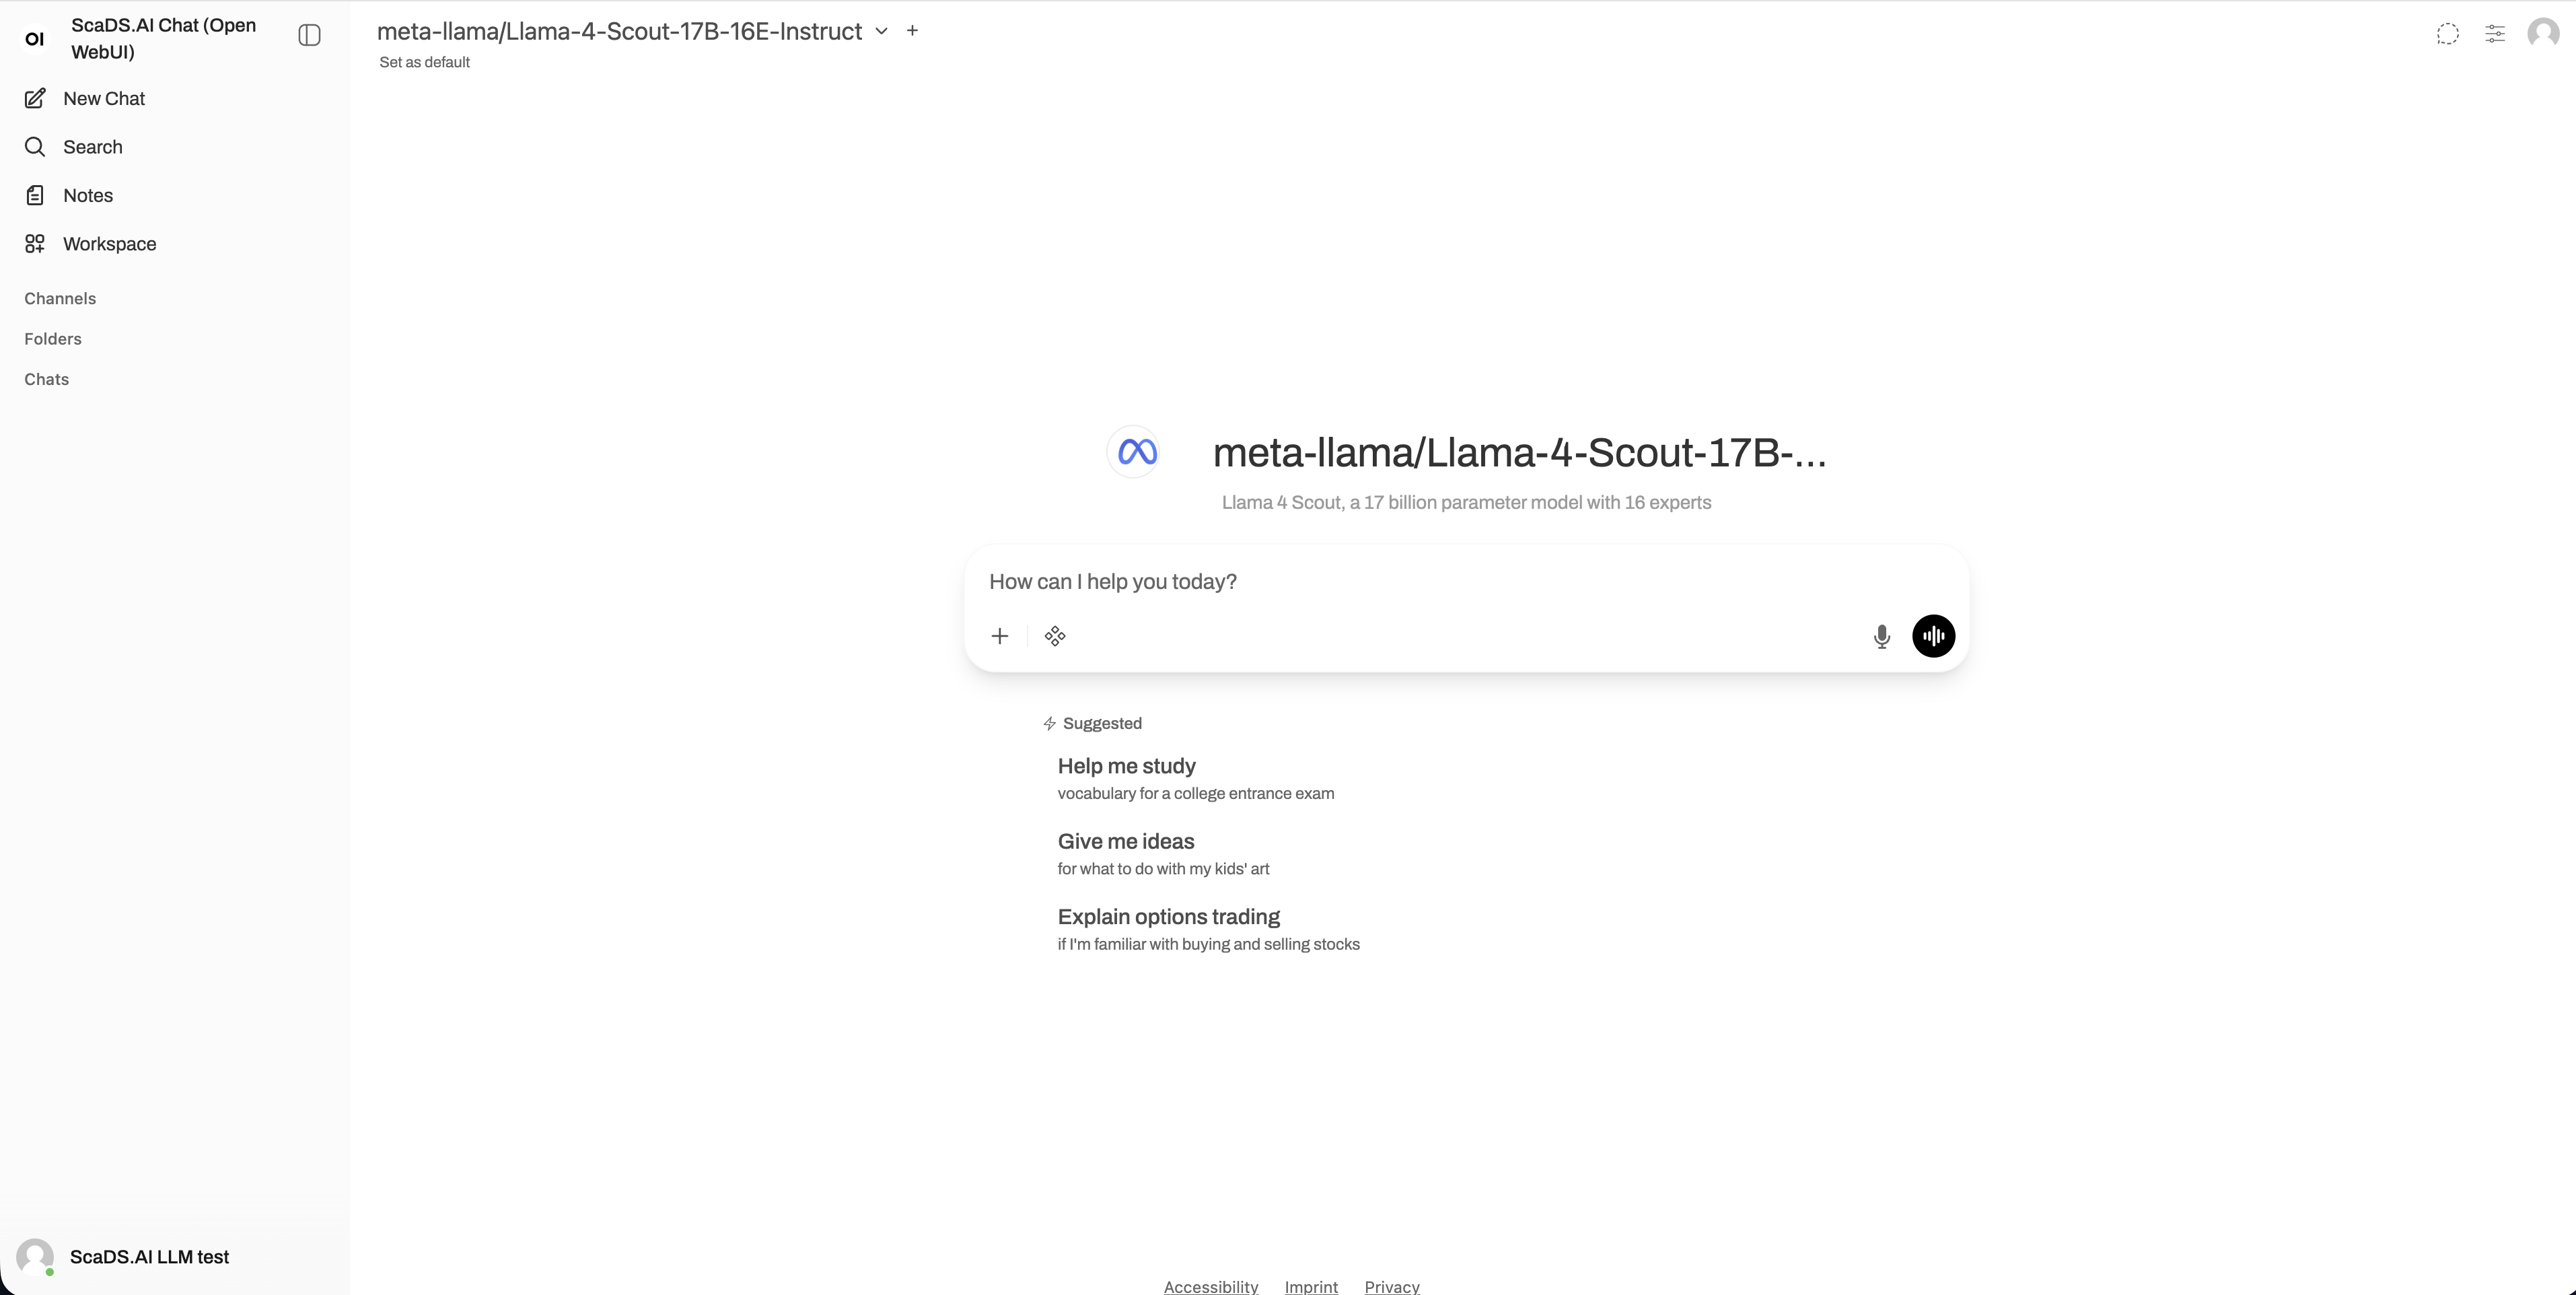
After login you land on the Chats view with:
- Left sidebar: chats, models, spaces/collections, settings.
- Main area: active chat.
- Top bar: current model selector and quick actions.
Chats
All chats are listed in the left sidebar. Use the context menu (three dots) to rename, duplicate, archive or delete a chat. You can import/export chats from user settings.
- Click New Chat in the sidebar.
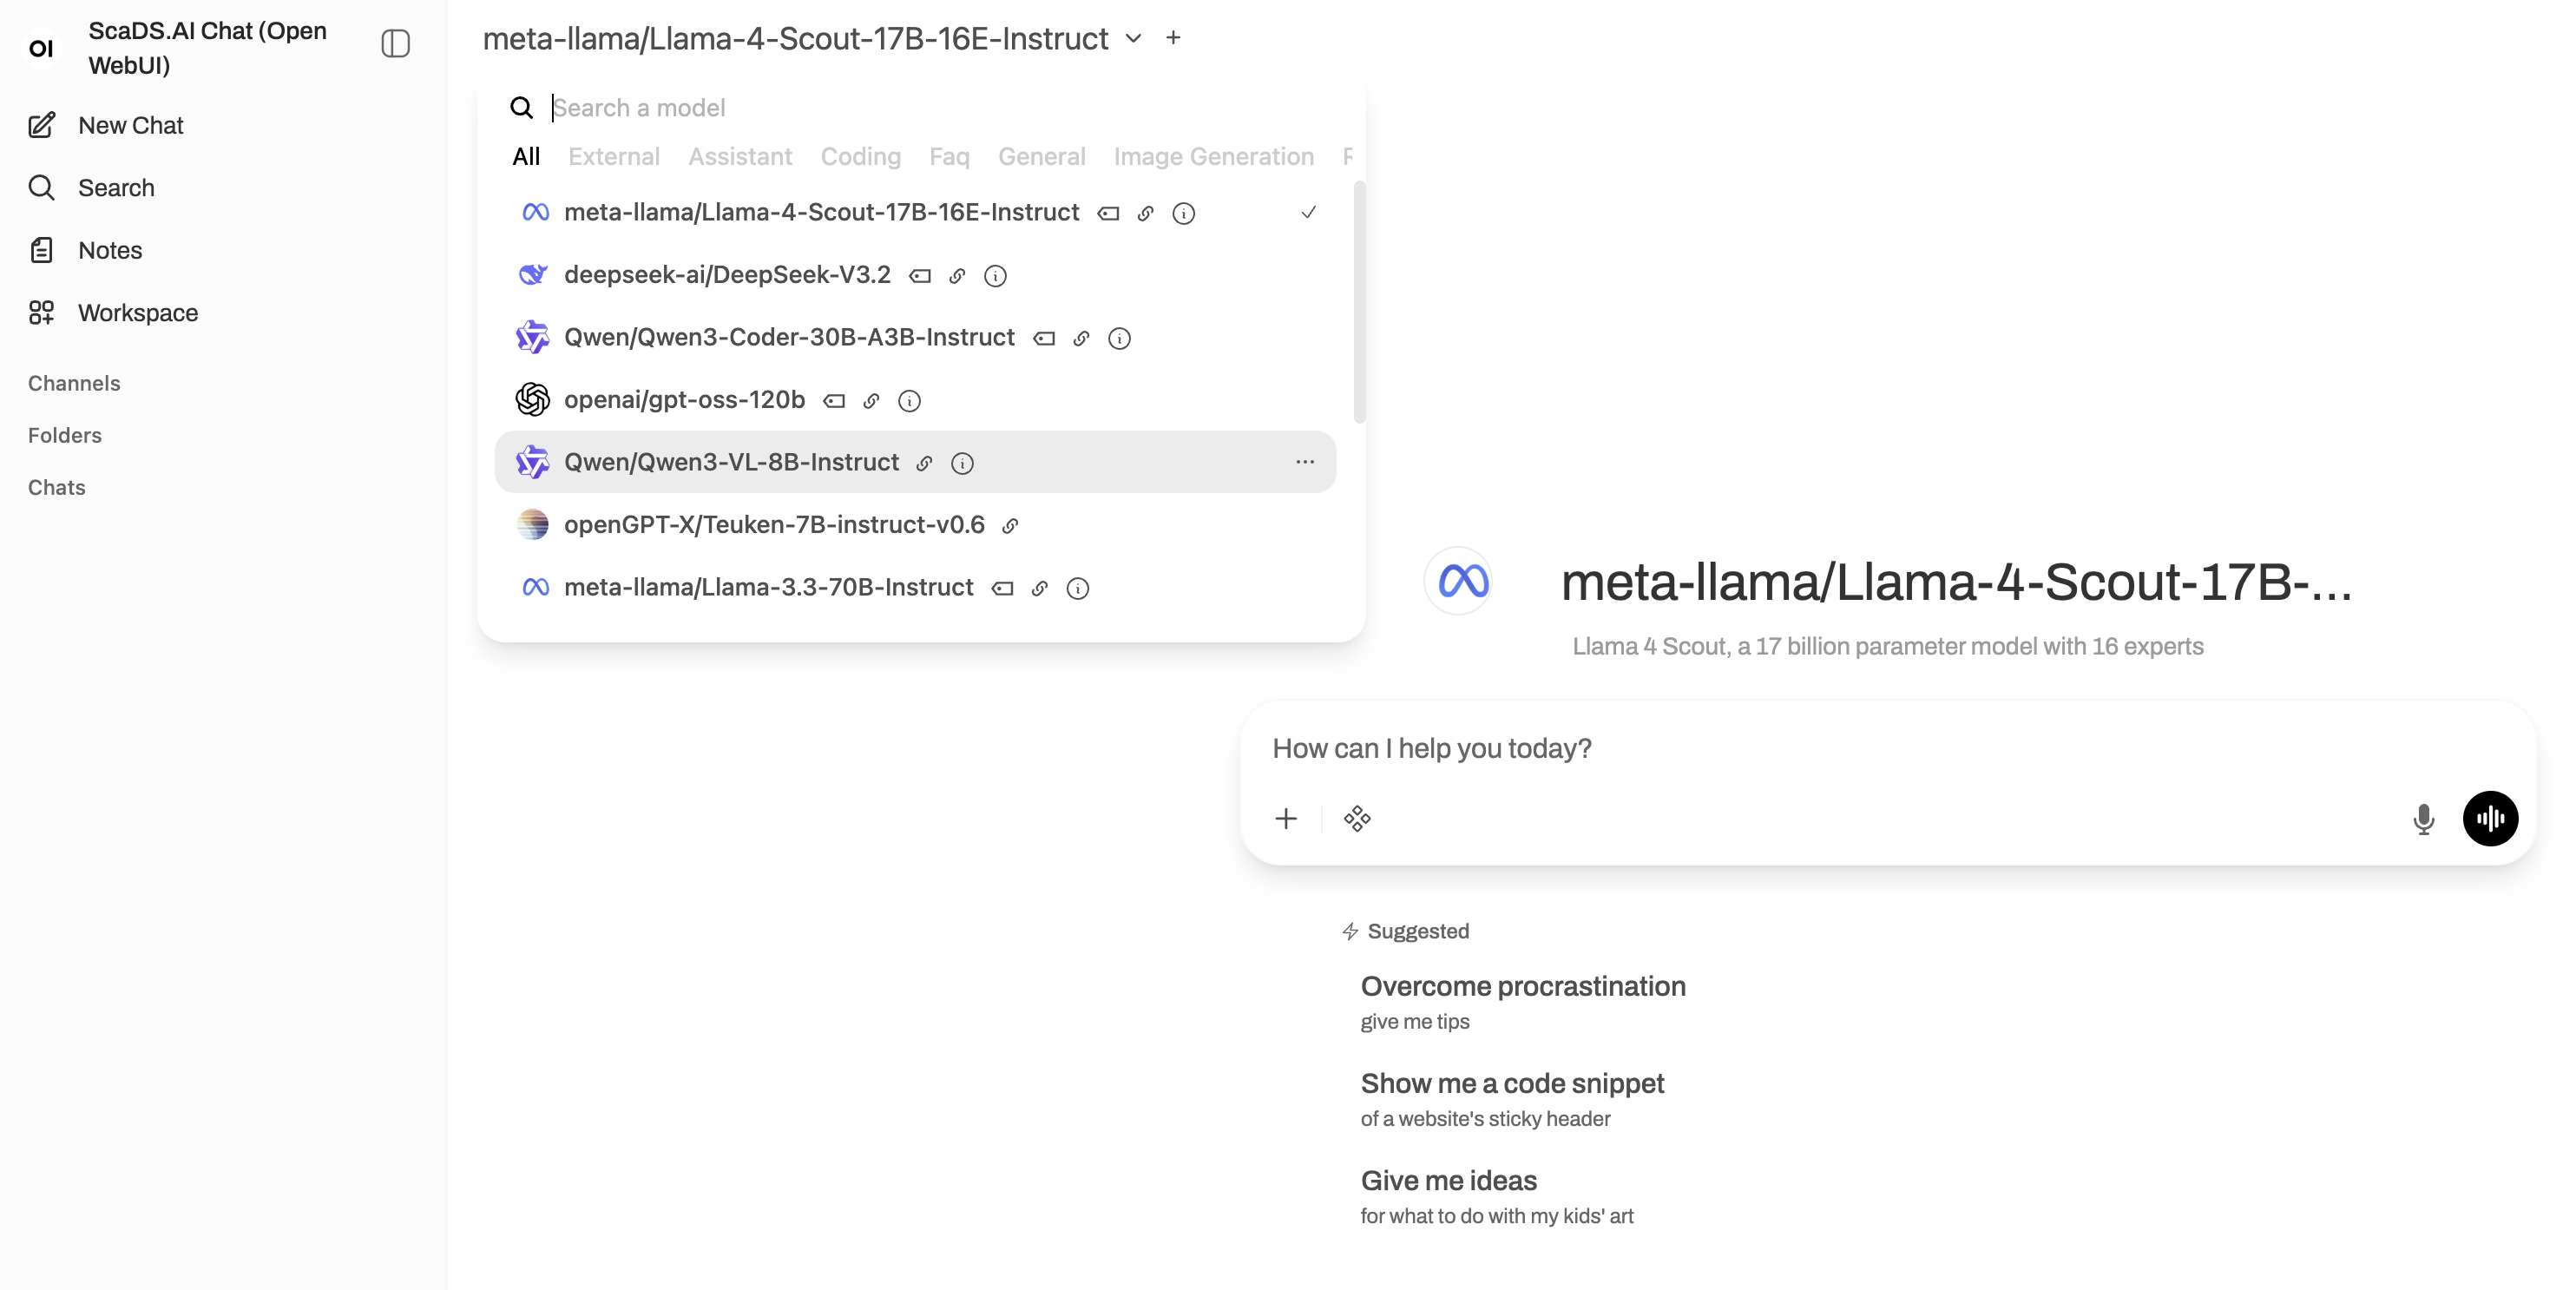
- In the top bar, select a model from the dropdown (e.g. general-purpose LLM, code‑focused LLM, multilingual LLM).
- Type your question in the input field at the bottom and press Enter (or use the send button).
Tips:
- Describe your task clearly (context, constraints, examples).
- For long tasks, ask the model to summarize or structure results with headings.
- You can switch the model at any time; the new model continues in the same chat context.
Working with Models
Open WebUI lets you use multiple models via our API. Use the model dropdown in the top bar to switch models. Per‑chat controls allow changing temperature, maximum tokens, system prompt and tool use. These settings apply only to the current chat session.
Some special models are exposed, such as:
ZIH Service Desk: answers frequent questions about ZIH services and HPC systemEN-DE-Translator: translates given prompt between English and German in both directions
Using Tools and Attachments
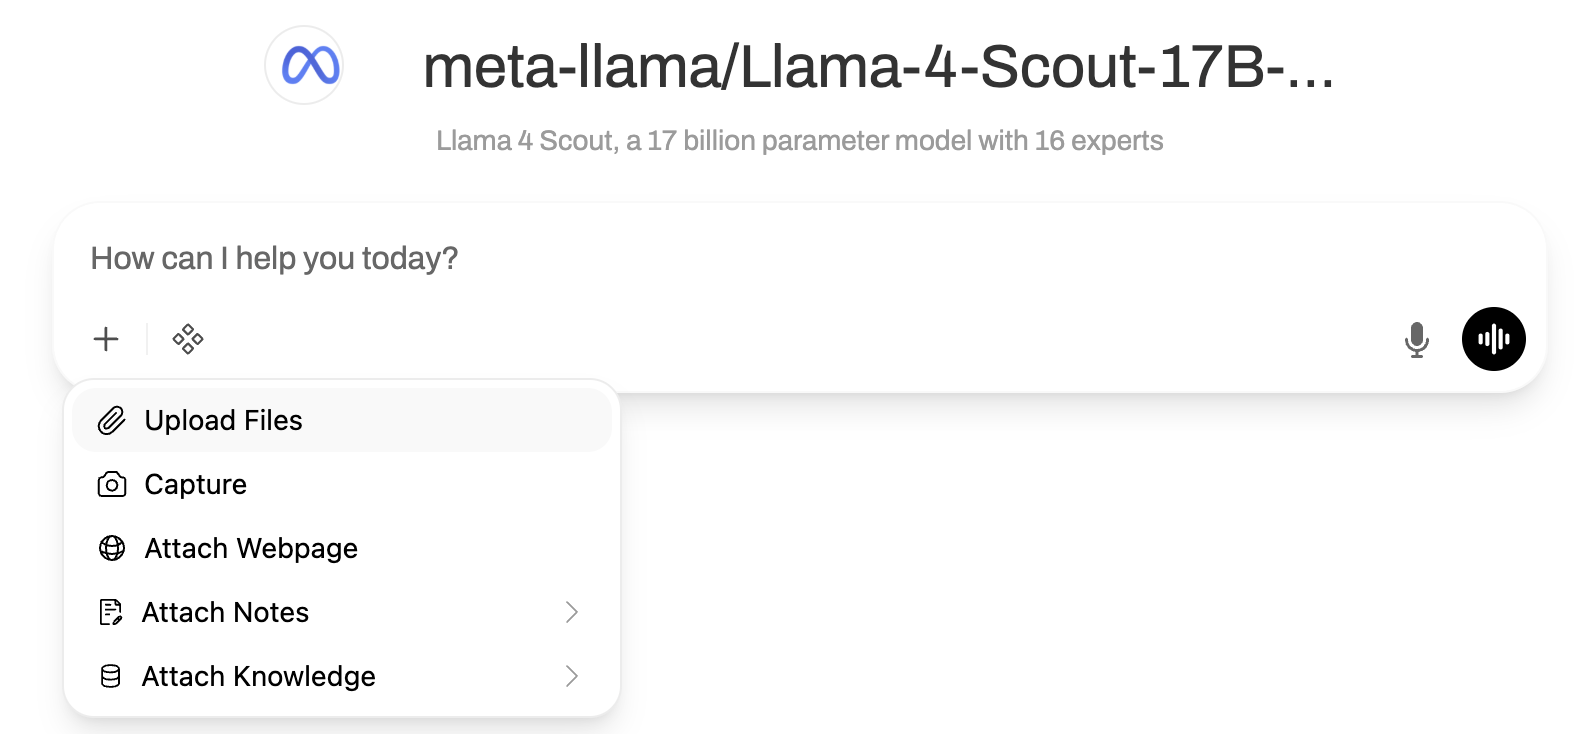
Open WebUI supports tools that extend LLM capabilities, such as web browsing, document analysis, image generation, and audio.
Documents and Retrieval-Augmented Generation (RAG)
Retrieval-Augmented Generation (RAG) allows LLMs to access and analyze your documents to provide more accurate, contextually relevant responses. Open WebUI offers two approaches: quick one-off uploads and persistent Knowledge Bases.
Quick Document Upload (Single Chat)
For temporary, one-time document use:
- Click the + icon in the chat box and click Upload Files
- Select one or more files (PDF, DOCX, text, markdown, etc.)
- Ask questions about the documents:
- "Summarize the attached document."
- "Compare section 2 of document A with section 4 of document B."
- "Extract all deadlines and list them as bullet points."
Use this approach when you need quick answers from a single document or document set, or the documents are not reused across multiple chats.
Persistent Knowledge Bases for Reusable Context
Knowledge Bases are shared, persistent repositories of documents and information that can be used across multiple chats, users, and models. They're ideal for organizational knowledge, collection of publications on specific topic, technical documentation, or domain-specific expertise.
Creating a Knowledge Base
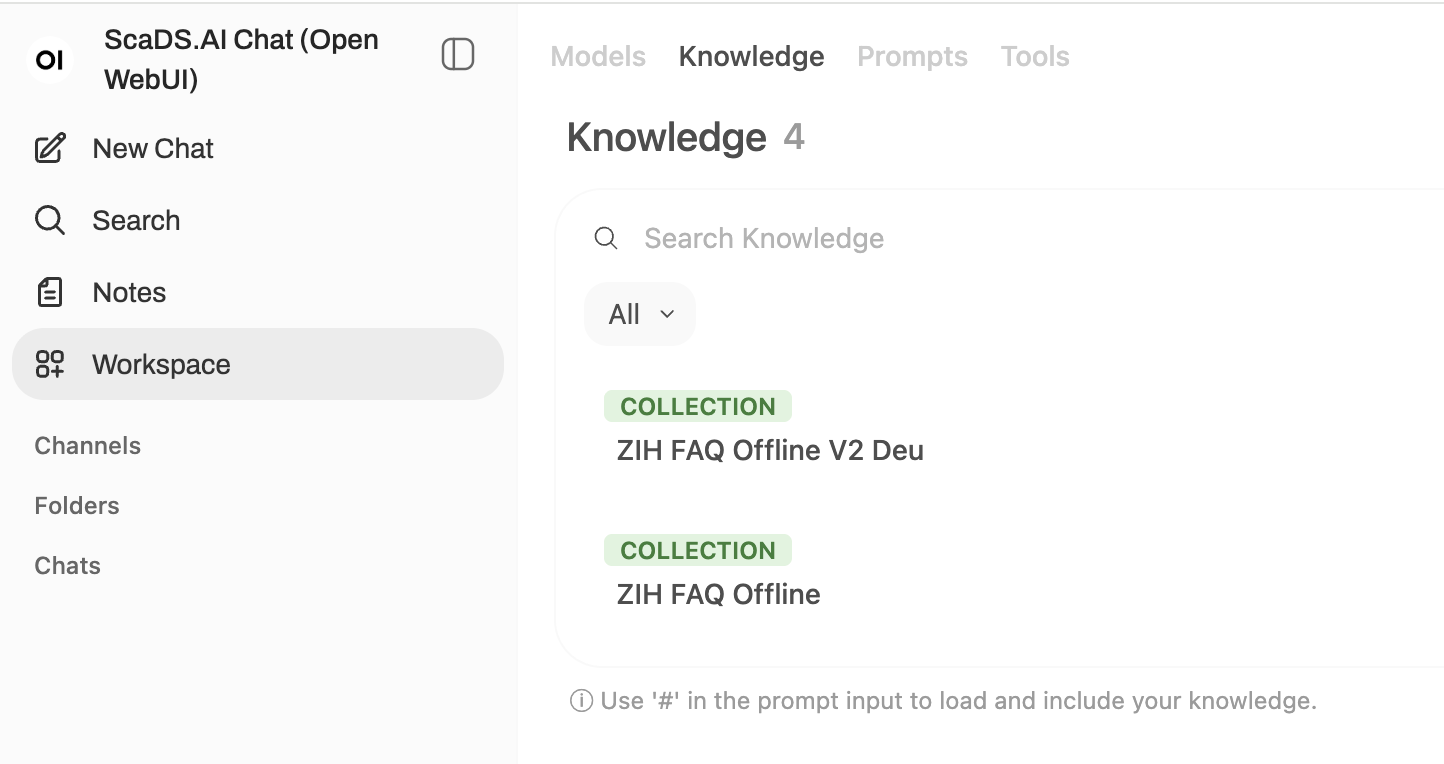
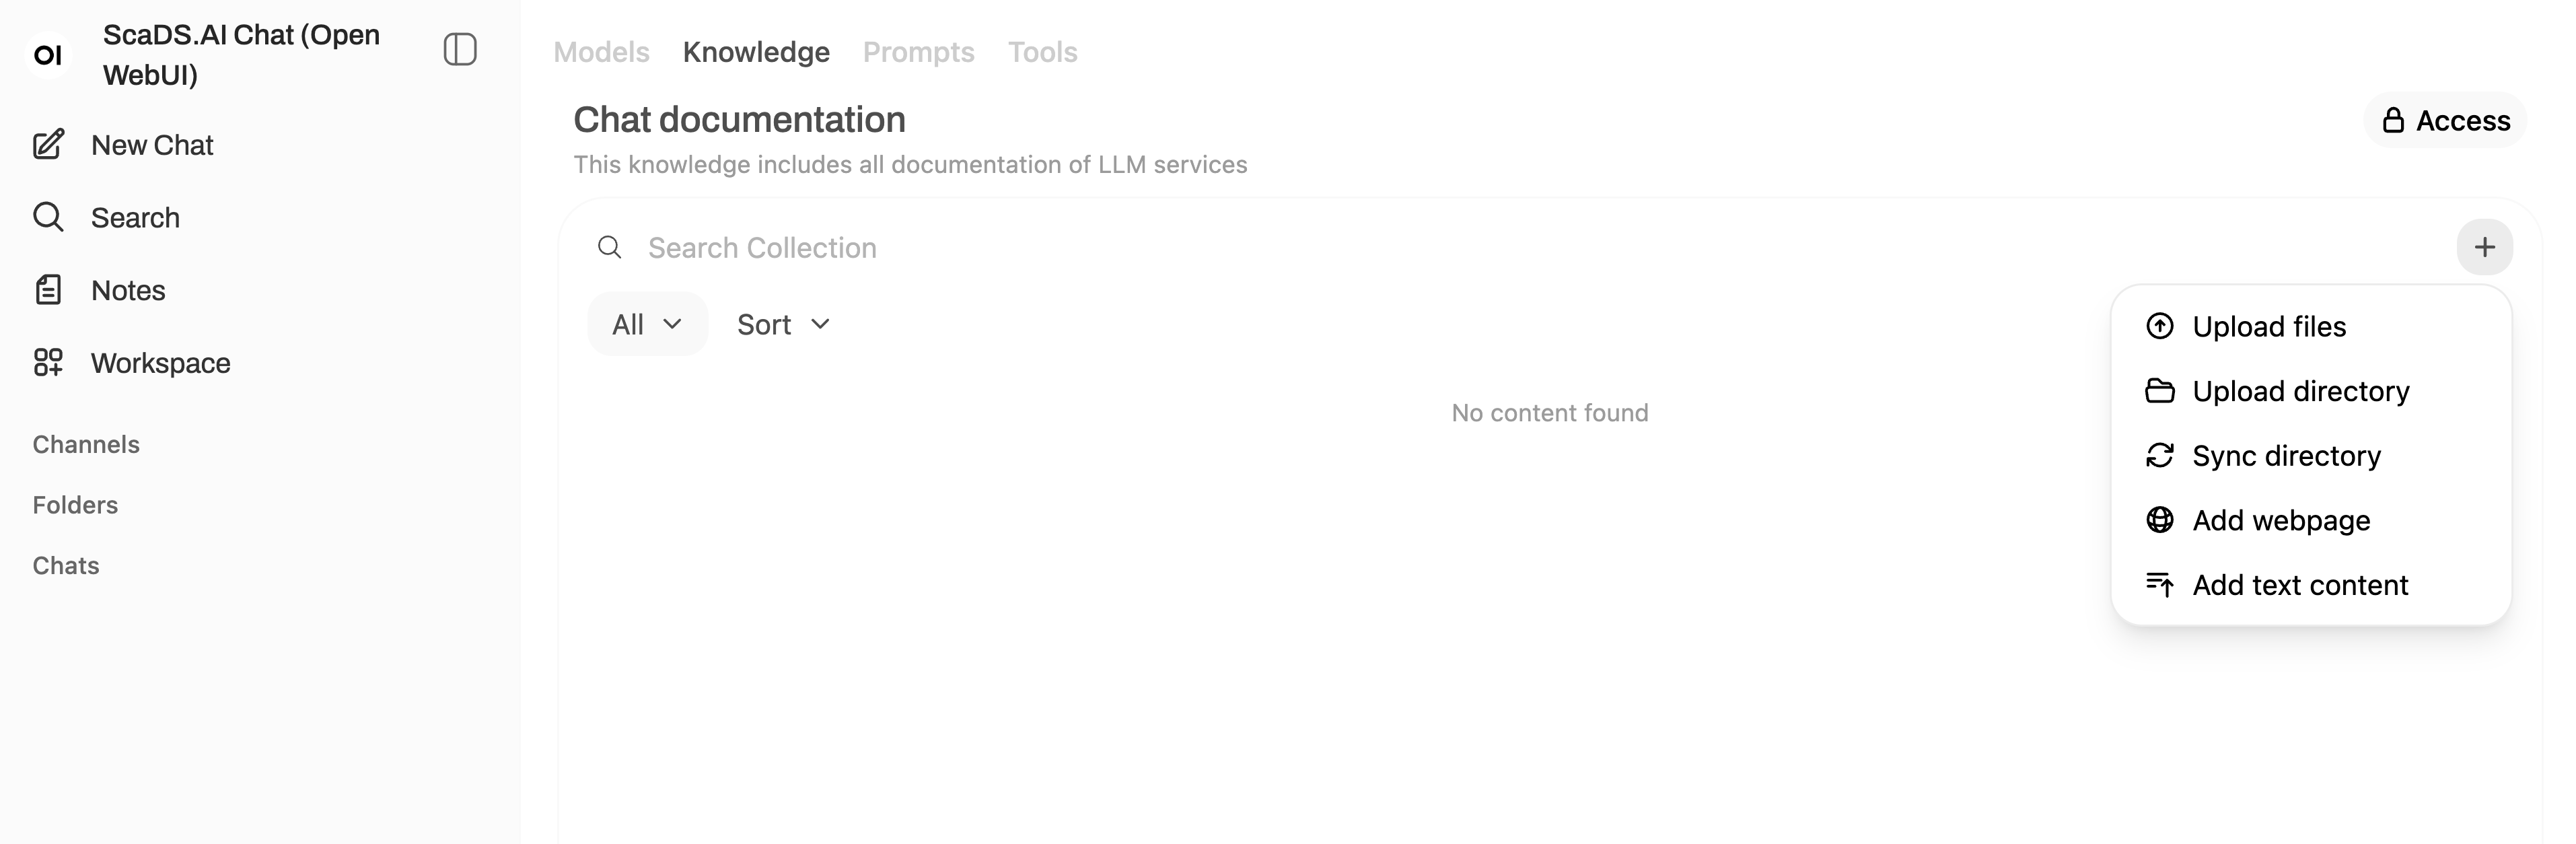
- Navigate to Workspace > Knowledge
- Click the Workspace button in the left sidebar
-
Select the Knowledge tab at the top
-
Create a New Knowledge Base
- Click the + New Knowledge button (top right)
- Fill in the details:
- Name: Give a descriptive name
- Purpose: Describe what you are trying to achieve
- Visibility:
- Private: Only you can access
- Public: All users can reference it (can only be set by admins)
- Groups: Allow access to specific user groups. See group and permission assignment section
-
Click Create Knowledge
-
Upload Documents to Your Knowledge Base
- Navigate to your newly created Knowledge Base
- Drag and drop files into the upload area, or click to browse and select files
- Supported formats: PDF, DOCX, TXT, Markdown, JSON, and more
- Open WebUI will automatically process and index the documents for retrieval
Ensure you respect internal data‑protection and confidentiality rules and our usage policy when uploading documents.
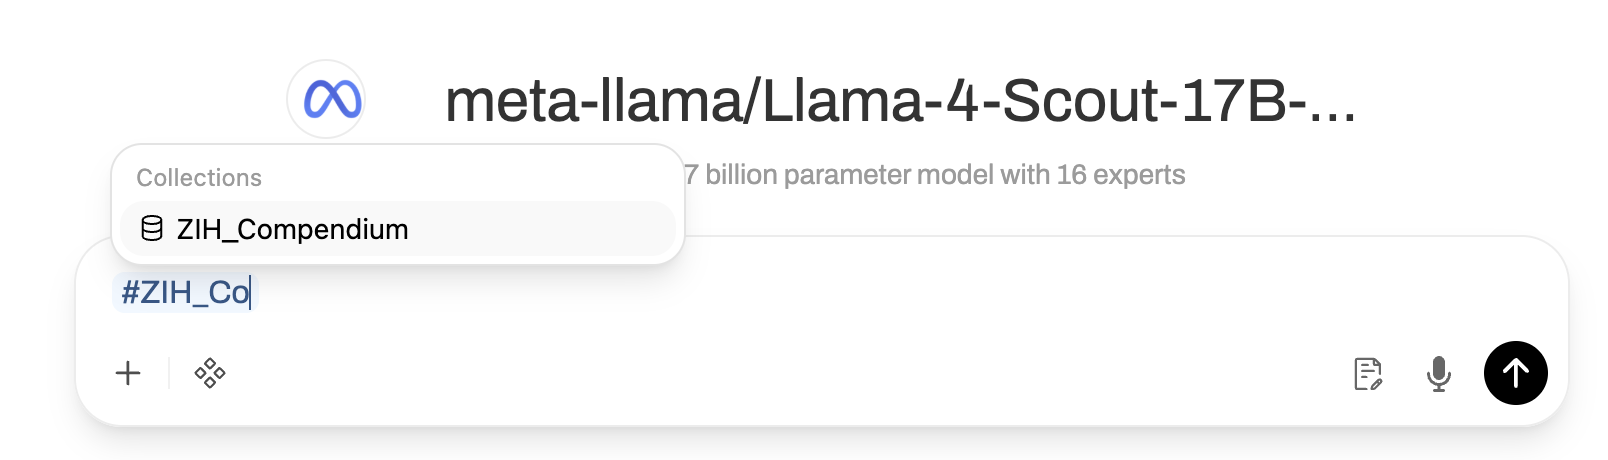
Using Knowledge Bases in Chats
Once created, reference a Knowledge Base in any chat using the # symbol:
- Type
#followed by the knowledge base name in your message - A dropdown will appear showing available knowledge bases
- Select the one you want to reference
- The knowledge base content will be available for the model to retrieve and analyze
Knowledge Base Best Practices
Organize your knowledge bases by domain and keep documents current by periodically reviewing and updating files to maintain accuracy. Use clear, descriptive names so users can easily identify the right knowledge base for their needs.
For optimal retrieval accuracy, prioritize plain Markdown files over other formats. Although Open WebUI preprocesses files with the Docling engine, clean Markdown documents deliver superior accuracy and retrieval quality compared to complex PDFs with images, tables, or other embedded elements.
Linking Knowledge Bases to Custom Models
For advanced workflows, you can create custom models that automatically include a specific Knowledge Base:
- Go to Workspace > Models
- Click + New Model to create a new model
- Configure:
- Name: Your custom model name
- Base Model: Select the underlying LLM
- Knowledge Source: Select your Knowledge Base from the dropdown
- Save the model
Now whenever users select this model, the knowledge base is automatically available for retrieval without needing to reference it with #.
Web Search
Web search using the open-source self-hosted tool SearXNG is enabled:
- Use the web search toggle in chat controls, or
- Use the syntax
#https://example.comin a message to let the model fetch and analyze a URL. - You can also ask, e.g.:
- “Search the web for recent papers on X and summarize them.”
- “Open and summarize the content of this page: https://…”.
Models will combine web results with their own reasoning. Always verify critical information against primary sources.
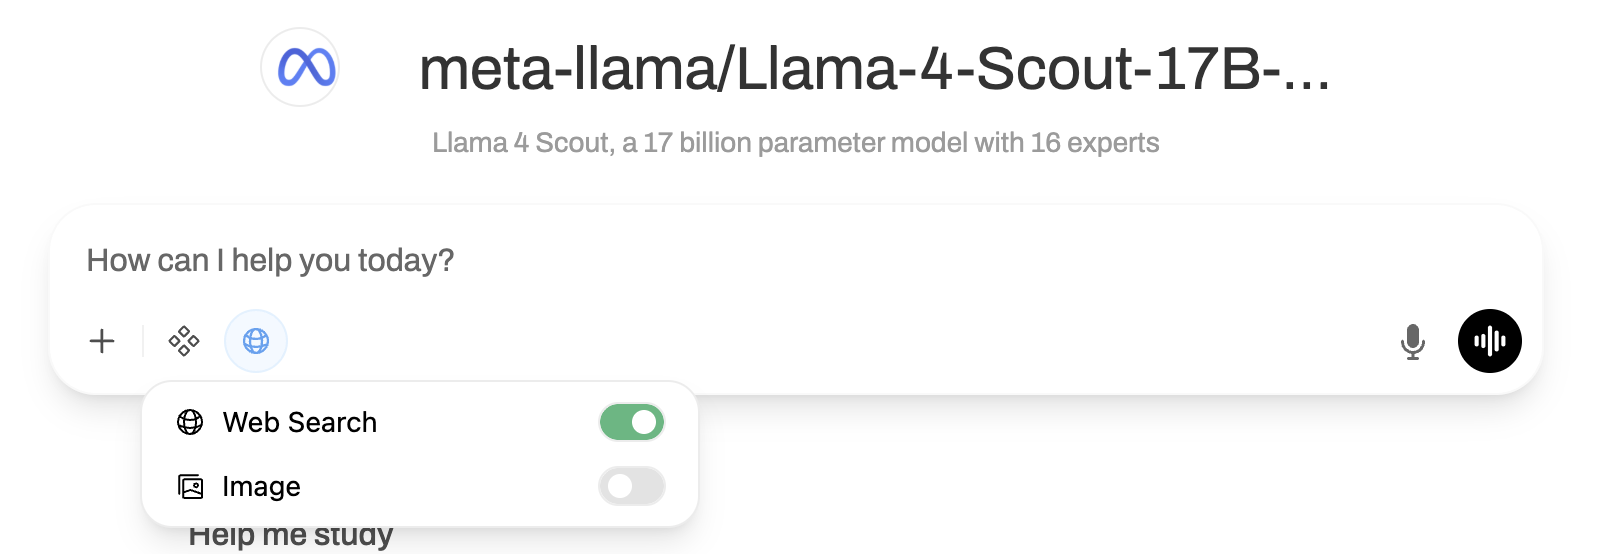
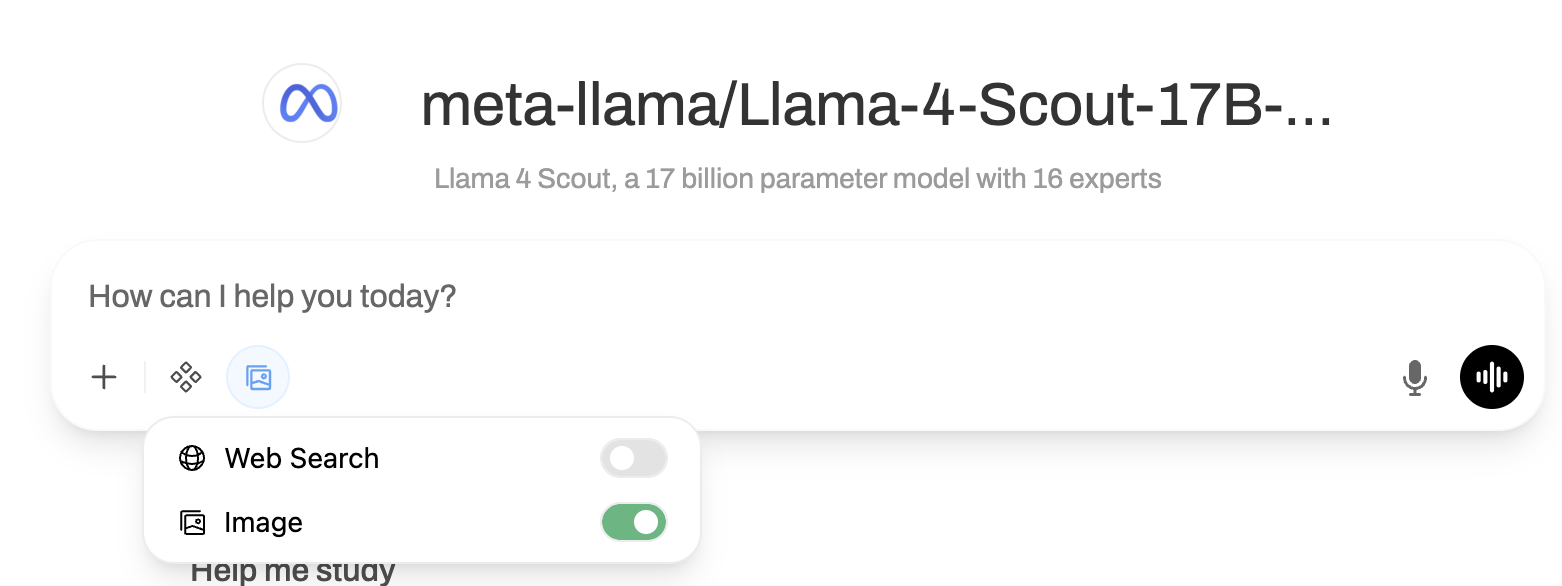
Image Generation
The Chat Interface integrates an image generation engine with the FLUX.2-dev model via the standard image tool interface.
- Select an Image Generator model or enable the image toggle for a regular text model in chat controls.
- Use prompts such as:
- “Generate a schematic diagram of a client–server architecture.”
- “Create an icon set for a teaching material website, flat style, TU Dresden blue and white.”
The result appears below the message; you can:
- Click to view in full size.
- Download the image.
- Copy it into other applications or documents.
Audio: Speech‑to‑Text (STT) and Text‑to‑Speech (TTS)
Audio tools for transcription and speech synthesis are supported.
Speech‑to‑Text (STT)
- Click the microphone icon next to the input field.
- Speak clearly; click again to stop recording.
- The audio is transcribed and inserted as text into the chat.
- You can then edit the text before sending, or send it directly.
For longer recordings use our audio models via API endpoints.
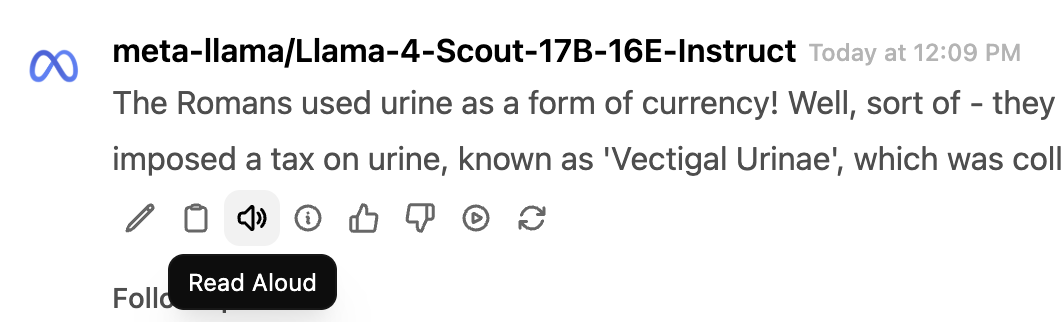
Text‑to‑Speech (TTS)
- After receiving a response, click the speaker icon in the message toolbar.
- The system generates audio and plays it in the browser.
- Useful for:
- Listening to summaries while multitasking.
- Language learning (pronunciation).
- Accessibility support.
Direct Audio Calls (Headphones Icon)
You can talk to the assistant in a continuous voice session:
- Click the headphones icon in the chat header to start an audio call.
- Grant microphone access in your browser if prompted.
- Speak naturally; the assistant will answer with synthesized speech and show the transcript in the chat.
- Use the on‑screen controls to pause, mute your microphone, or end the call.
Code, Notebooks, and Artifacts
Open WebUI is optimized for code and technical workflows. Use our LLMs specialized for coding tasks (filter using "coding" tag in model drop-down).
Code Assistance
- Paste code into the chat, it will be rendered with syntax highlighting.
- Use prompts like:
- “Explain this function step by step.”
- “Find potential bugs and propose fixes.”
- “Convert this script from Bash to Python.”
Responses include formatted code blocks with copy buttons for quick reuse.
Artifacts and Live Editing
For some responses, Open WebUI can create artifacts (HTML, SVG, small apps) that can be edited live.
- When an artifact appears, click it to open the live view.
- Edit code directly in the embedded editor; changes update the artifact in real time.
- This is well‑suited for:
- Simple visualizations or diagrams (e.g. Mermaid, SVG).
- Prototyping small front‑end snippets or interactive elements.
Group Management and Access Control
What Are Groups and Why Use Them?
Groups are a core part of Open WebUI's role-based access control (RBAC) system. They allow administrators and group owners to:
- Simplify permissions: Assign access to resources (models, knowledge bases, tools, prompts) to many users at once, rather than managing individual users one-by-one.
- Control resource visibility: Set models, documents, and tools to "private" and then grant access to specific groups. This ensures users only see what they need. Note that only administrators can set sharing to "public" (visible to all users). If you think your resource can be used by every user, please approach us individually.
- Enable fine-grained permissions: Specify "read" or "write" access per group per resource; write access implies read permission.
TU Dresden Group Structure
Open WebUI at TU Dresden is configured with automatic OAuth group synchronization from the TU Dresden identity provider:
- Organizational groups: Groups are automatically created and synced based on TU Dresden organizational units (Faculty of ..., Chair of ..., Institute of ...). Group membership is updated nightly.
- Automatic membership: Employee group memberships are synchronized with TU Dresden identity provider; you are automatically added to groups matching your role and unit.
As a general principle, apply least privilege: Users should only have access to the models, knowledge bases, and tools they need for their work.
Creating Custom Groups for Projects and Students
For use cases not covered by the automatic organizational structure, such as project-specific teams or students, you can register any group to appear in Chat Interface by using the TU Dresden self-service portal.
Assign a group to ScaDS.AI LLM service
If you want to enable an existing group for using ScaDS.AI LLM services, you need to assign this group a "ScaDS.AI LLM" service.
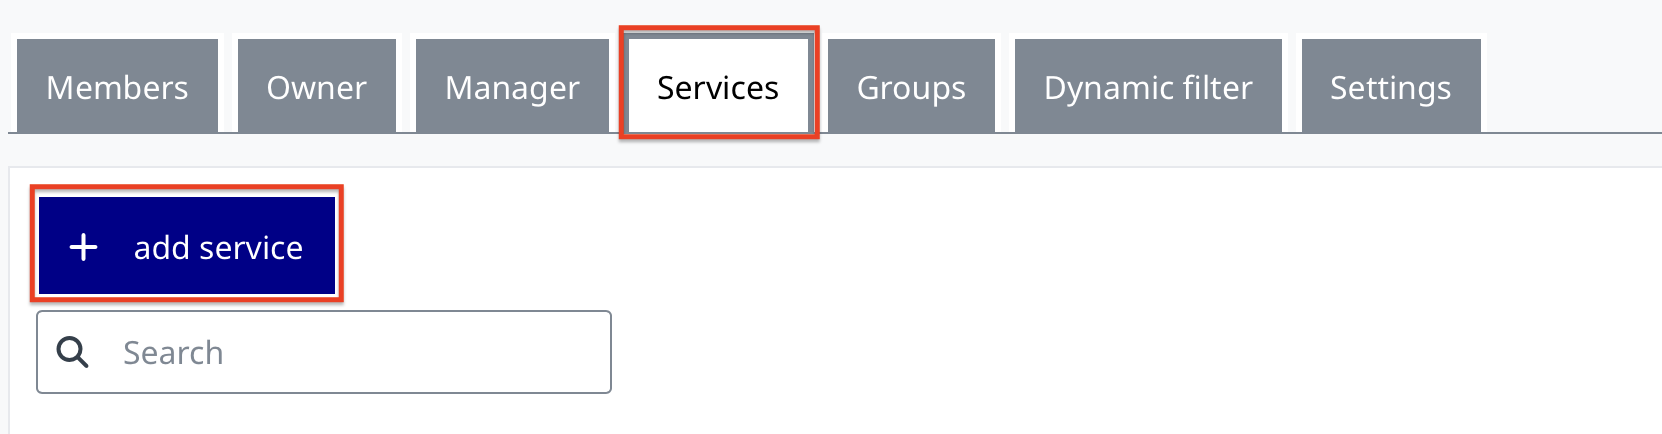
- Click on the group name in Self-Service Portal and proceed to "Services" tab.
- Click on "add service".
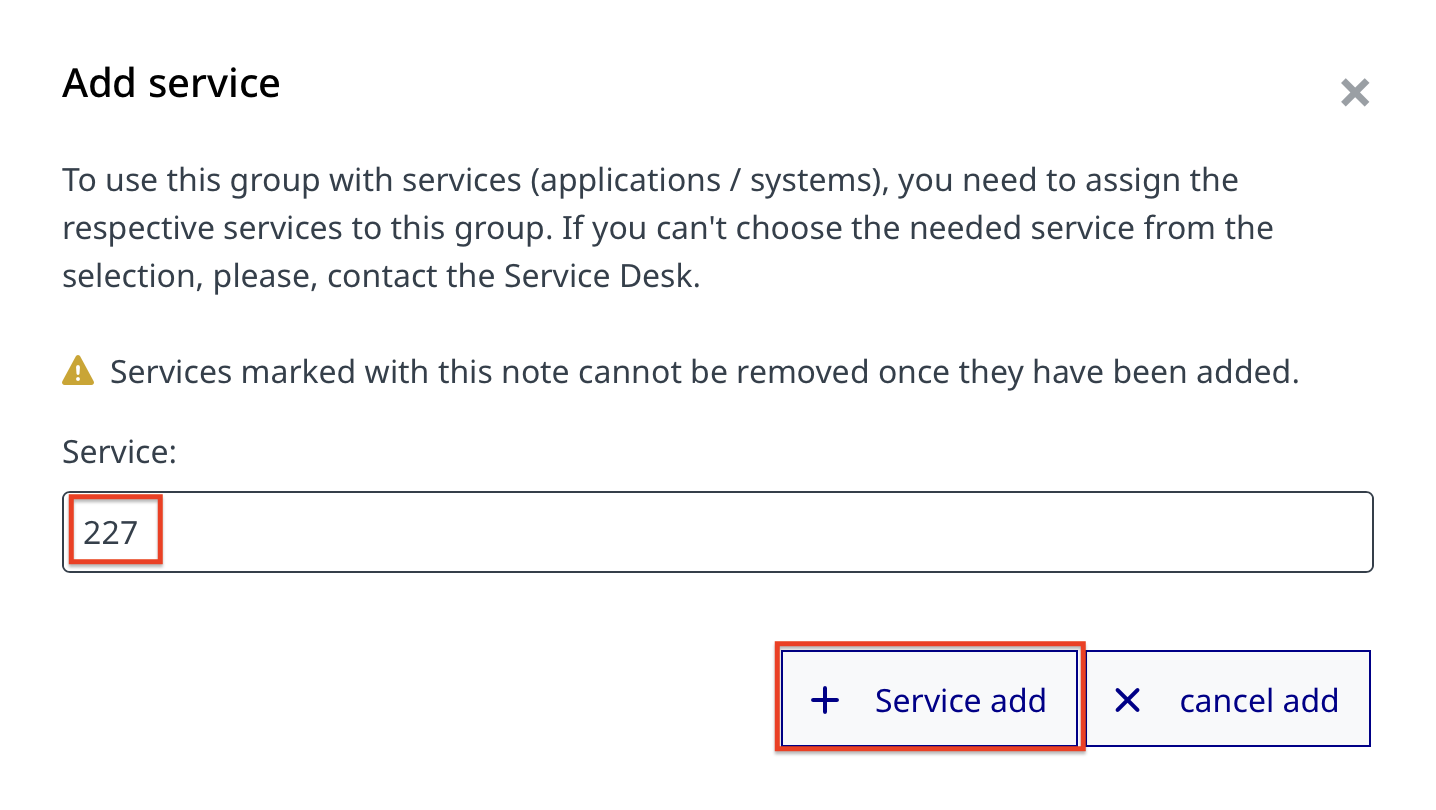
- Select "ScaDS.AI LLM [227]" from the list, and confirm by clicking on "Service add".
- The group will be synchronized automatically within one nightly sync cycle. You need to re-login the following day, so that Open WebUI can provision your group membership. The group must have at least one member to appear in Open WebUI; the group owner isn't automatically a member.
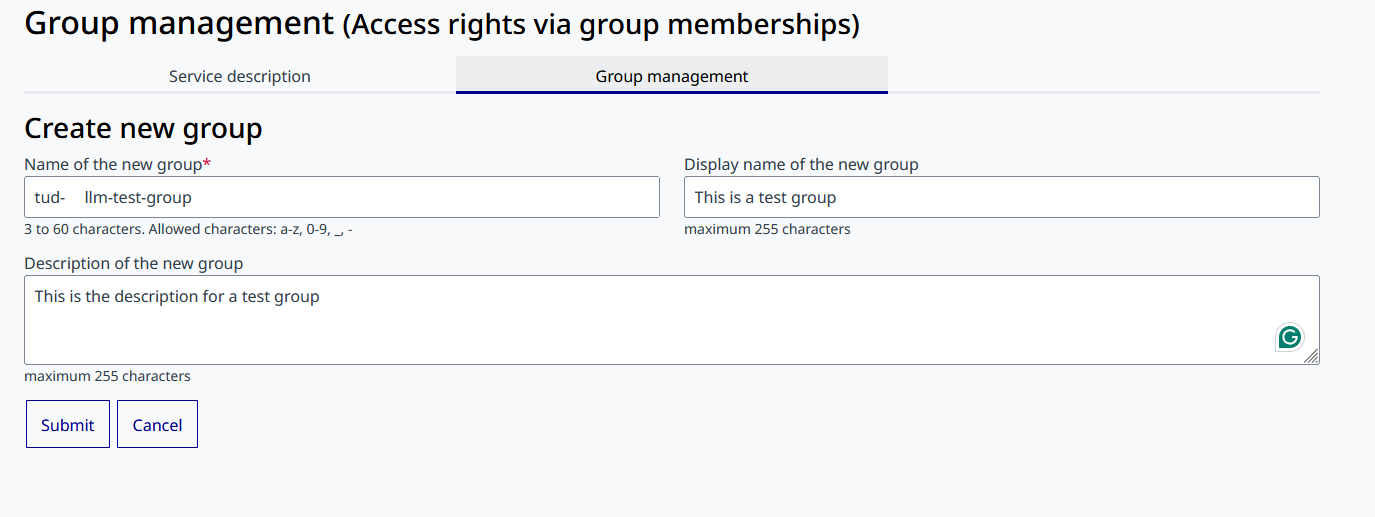
Create a new group
If neither of the existing groups matches the user list, that you want to appear in Open WebUI, a new group can be created as follows:
- To create a new group, visit the self-service portal group management form.
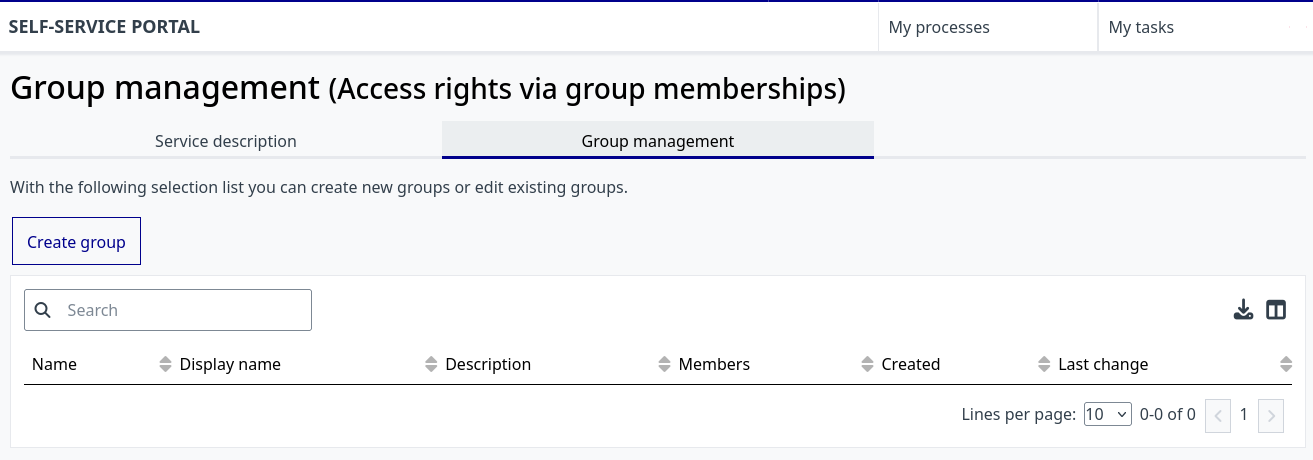
- Click "Create group".

- Enter a name of the group. Create a meaningful and self-explanatory display name, so that your group could be easily identified (e.g. "Research project ABC" or "Course ABC"). This is the name that you will see in Open WebUI. Now click "Submit".
- The group is now created.
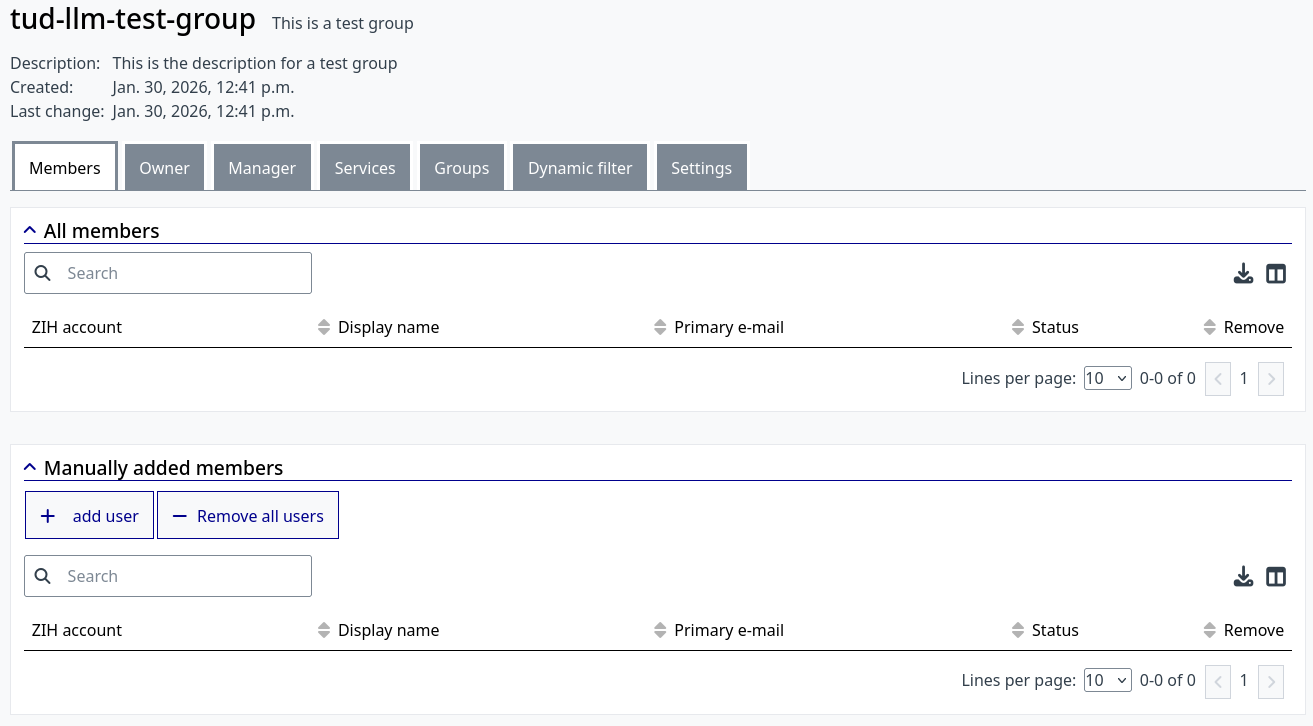
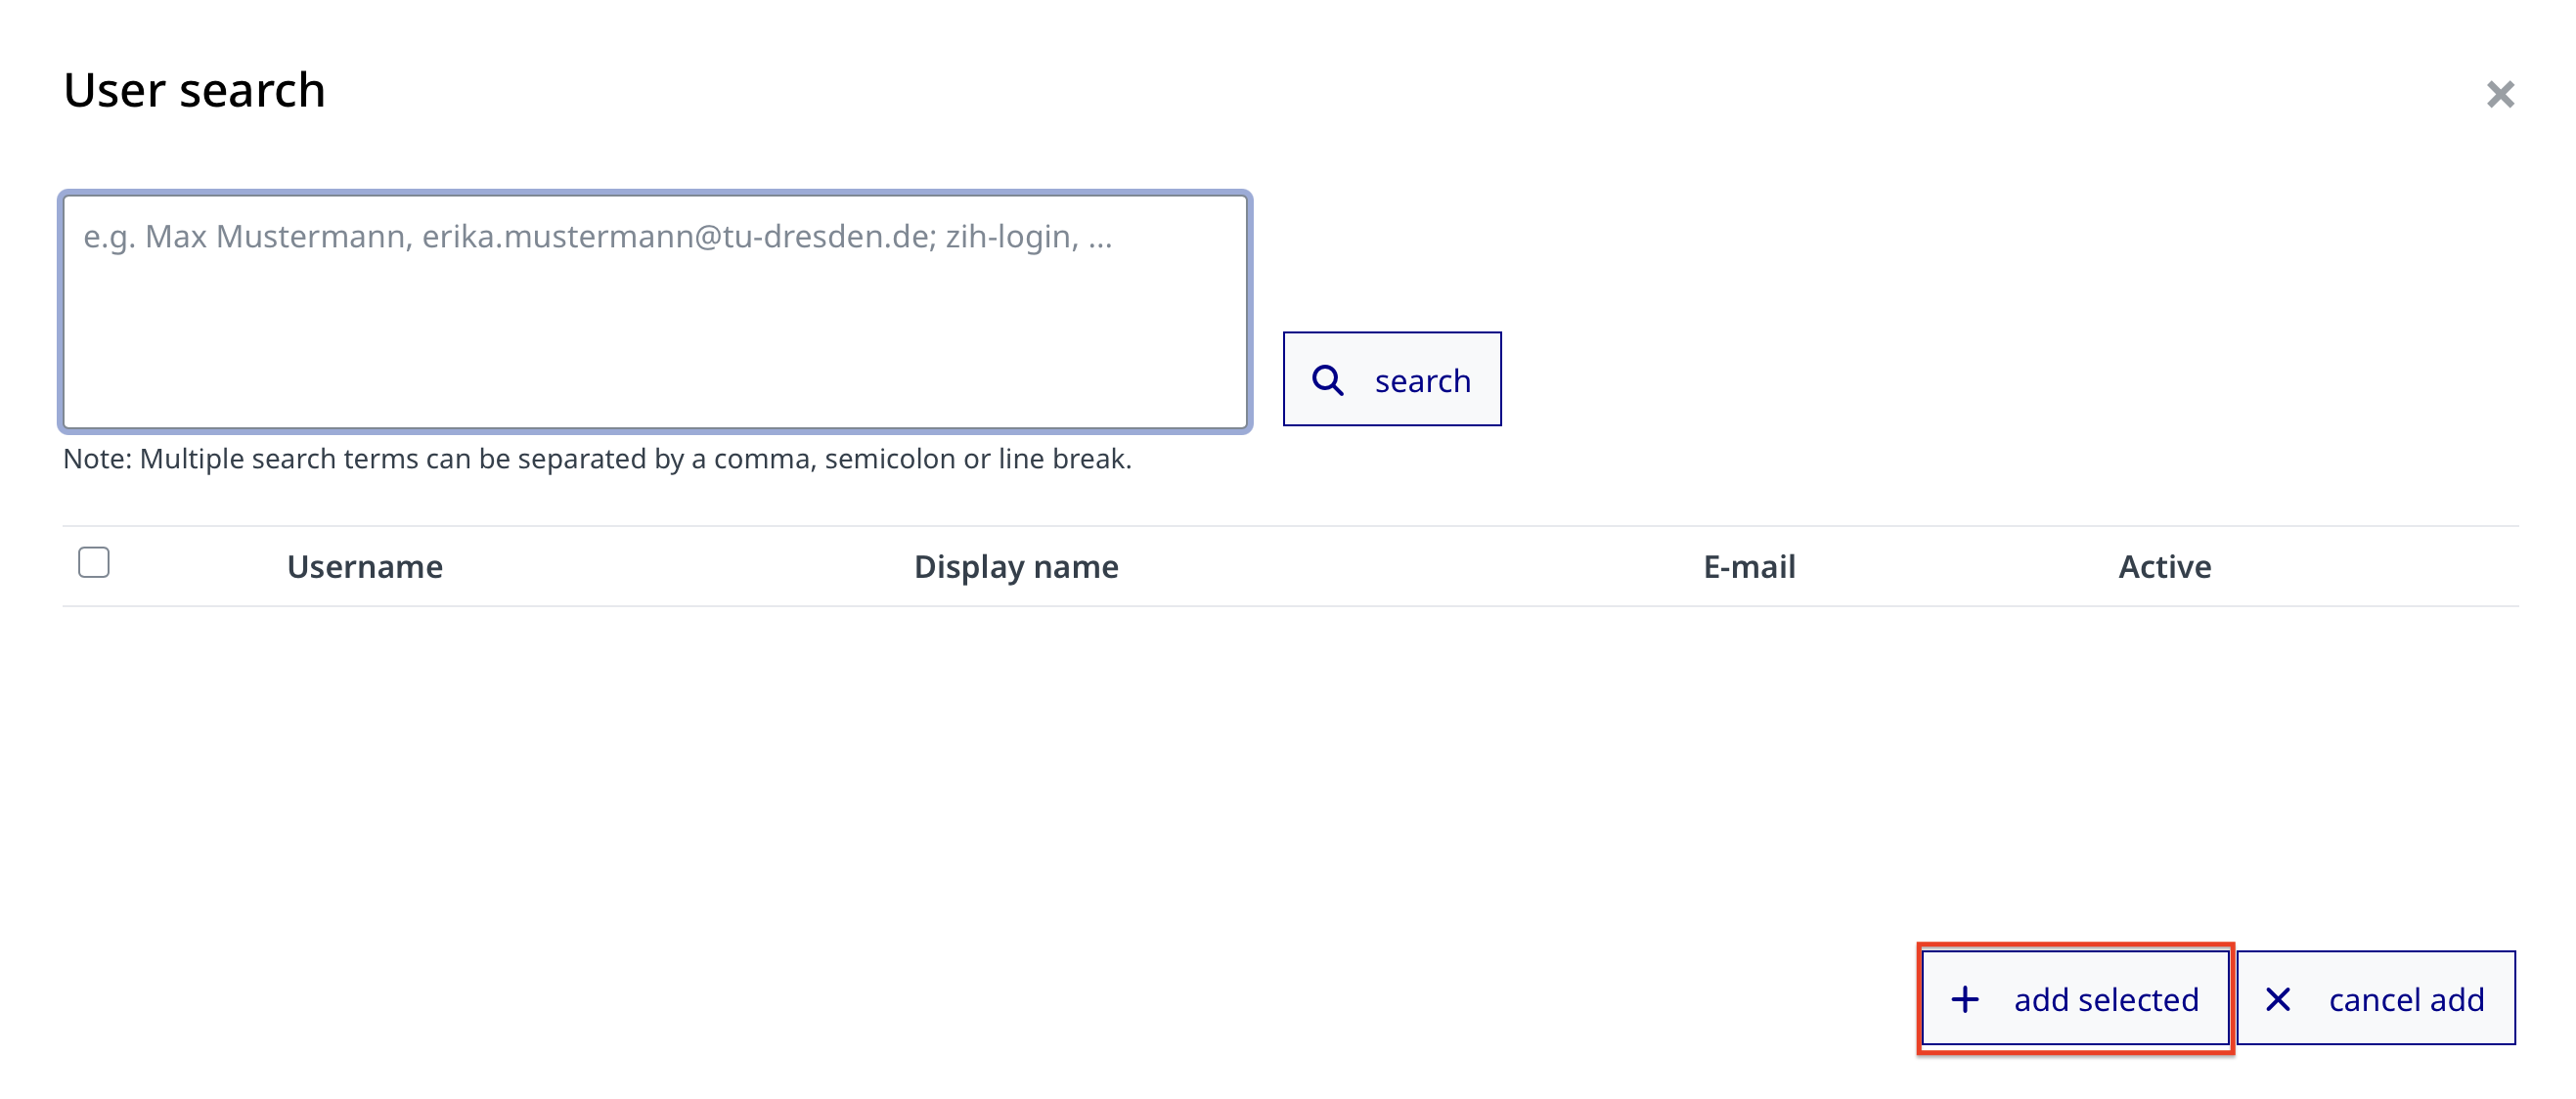
- Click "add user" to add users to your group, paste their ZIH-logins or E-Mail addresses in the form, and confirm by clicking on "add selected".
- Assign the newly created group to ScaDS.AI LLM services.
Common use cases:
- Share a specialized model with a project team.
- Grant students access to teaching materials and specific models without placing them in a TU Dresden structural unit.
- Isolate knowledge bases (lecture notes, datasets) to a particular course or lab group.
Sharing Resources with Groups
Once a group is created and synchronized, resource owners can control access as follows:
- Verify a resource is set to "private": In the Workspace (Models, Knowledge, Tools, or Prompts), select a resource and check its visibility is set to "Private".
- Grant group access: Use the group selector to add read or write permissions for specific groups.
- Read: Users can use and view the resource.
- Write: Users can use, view, and modify the resource (implies read).
- Permissive access model: If a user belongs to multiple groups and different groups have different permissions for a resource, the most permissive permission is applied.
Best Practices
- Organizational groups: Use auto-synced TU Dresden organizational groups for faculty-wide or department-wide resources (general teaching models, shared knowledge bases).
- Custom groups: Use custom groups for time-limited projects, cross-departmental collaborations, or student cohorts.
- Least privilege: Only grant read or write access where needed; avoid making sensitive resources public.
Good Practices and Limitations
- Non‑deterministic: Answers can differ between runs; always double‑check important results.
- No guarantee of correctness: LLMs may hallucinate citations, data, or code. Validate against primary sources.
- Respect copyright and exams:
- Cite original authors if you reuse generated text or ideas.
- Do not upload or process exam questions or solutions where this violates TU Dresden rules.
- Minimal personal data: Avoid full names, matriculation numbers, or health‑related details according to the usage policy.
Getting Help or Reporting Issues
Check official documentation on Open WebUI documentation.
For TU‑specific questions reach us at llm.scads.ai@tu-dresden.de